Empennage:

Sub-Section Hours: 67

Date: Mon, Feb 14, 2005 Build Hours: 1
Assembly: Empennage Sub-Assembly: Inventory

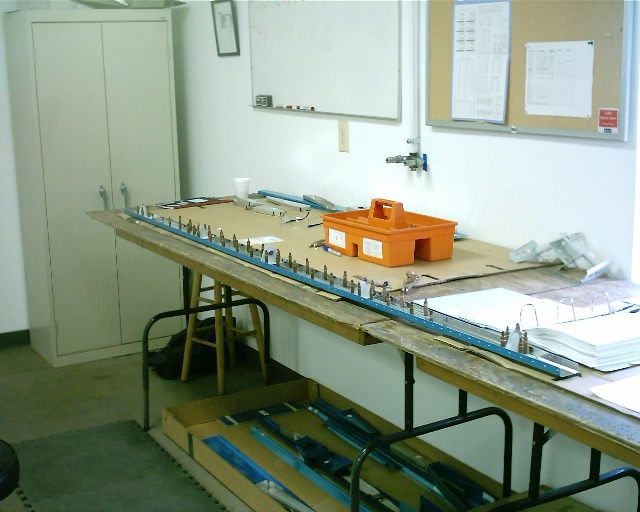
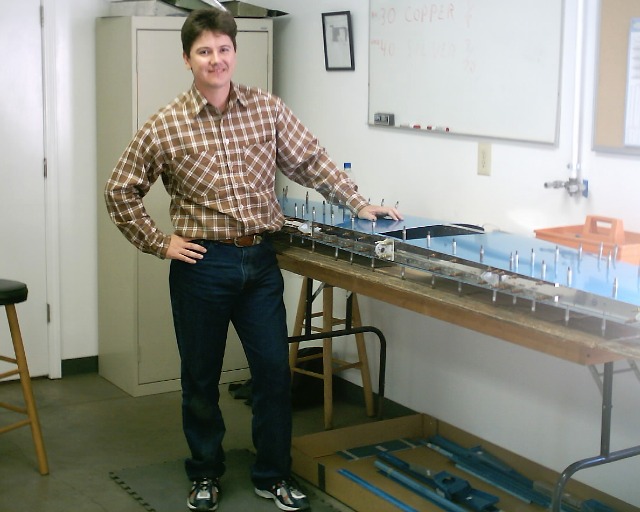
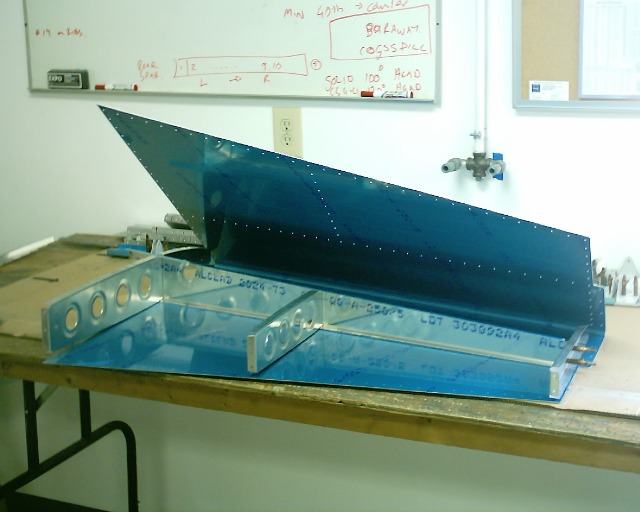
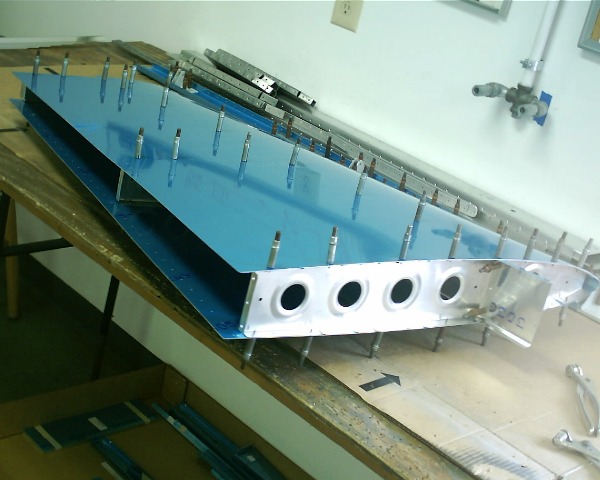
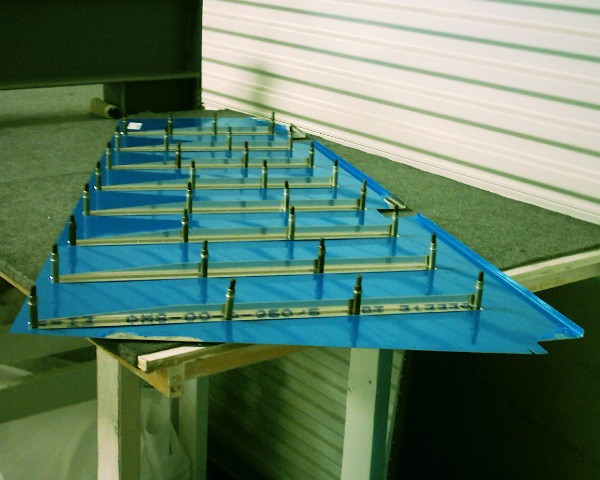
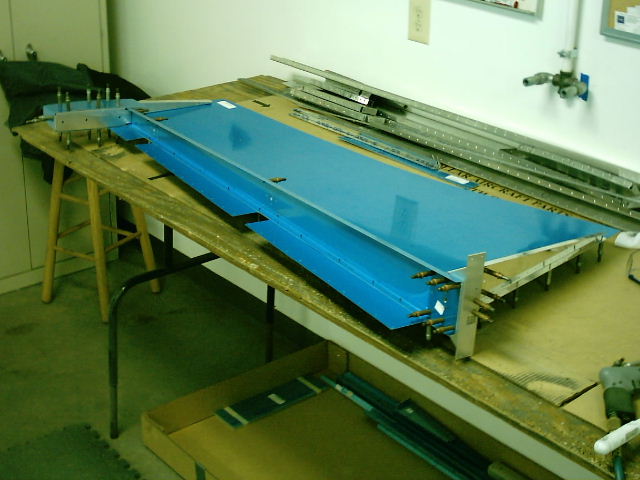
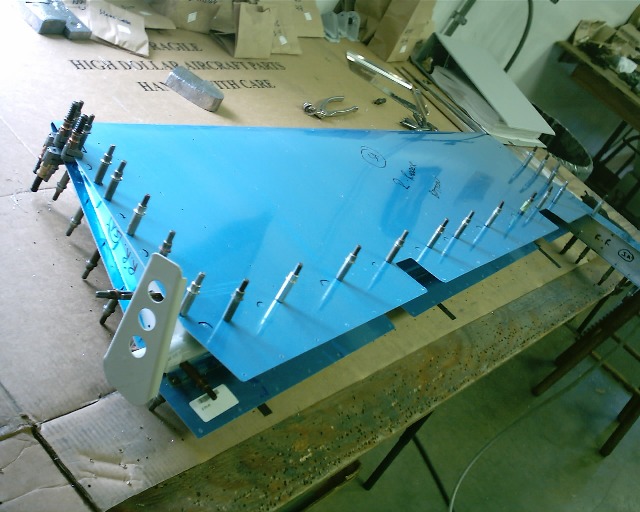
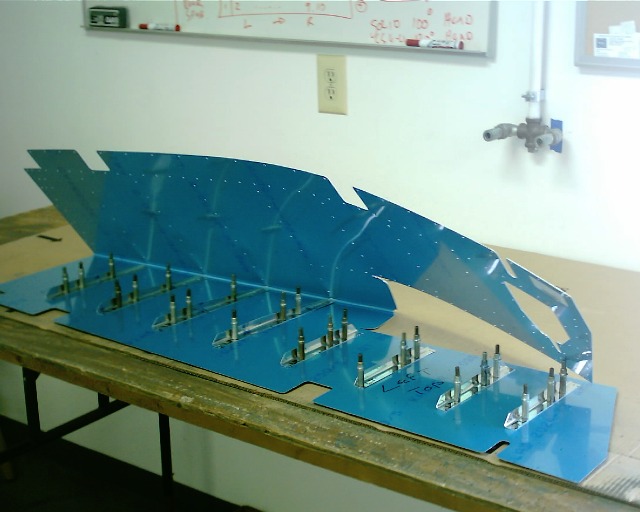
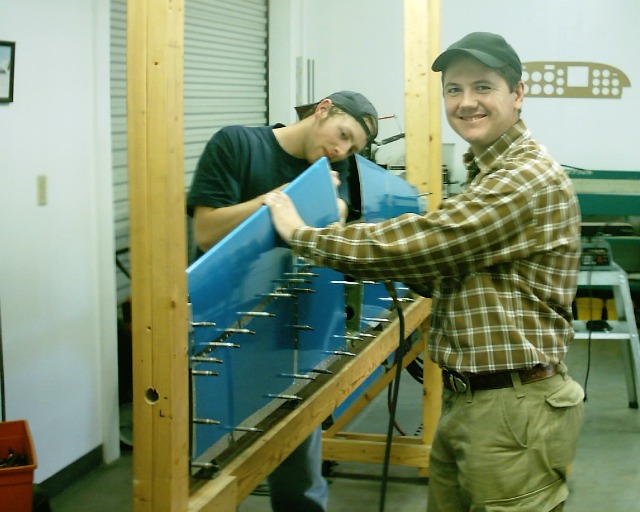
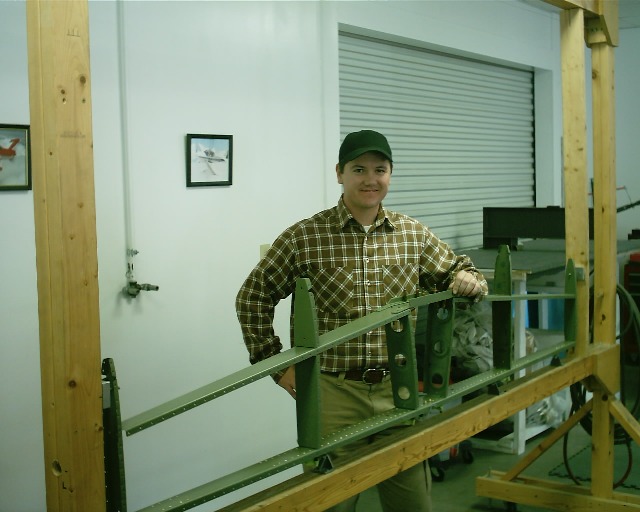
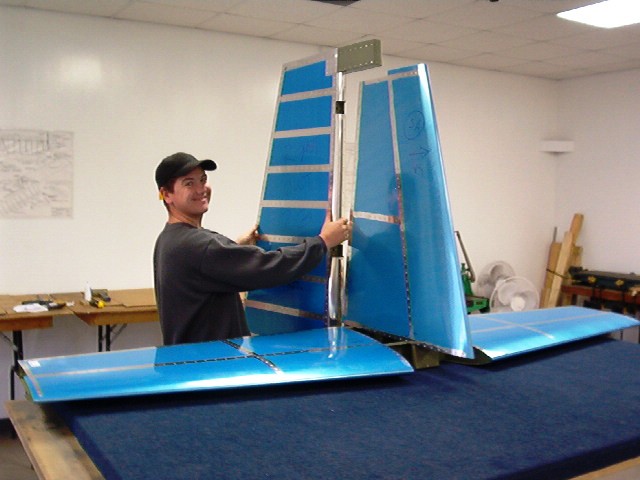
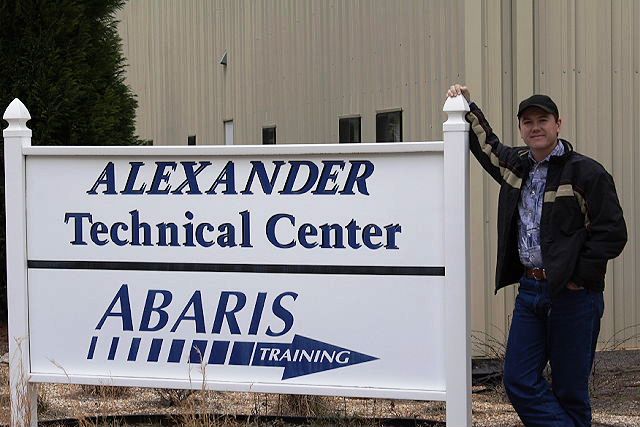
Alexander Technical Center:

While I was on a business trip in the USA I made time to attended the empennage training at Alexander Technical Center, just south of Atlanta. Most of my Empennage was assembled only in 6 days.


Wow how much I have learned in these 6 days, I would recommend any RV first time builder to attend. They have a well equipped workshop with all the different types and makes of tools to try out and work with before you buy.


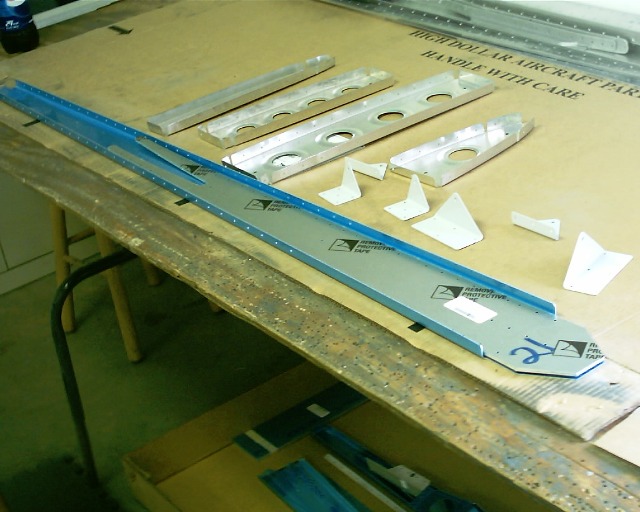
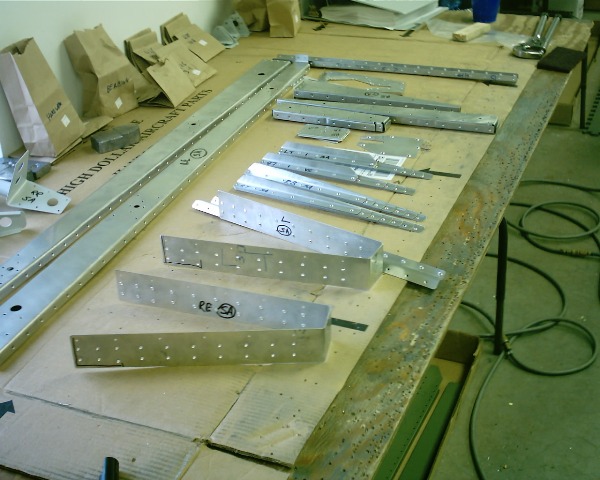
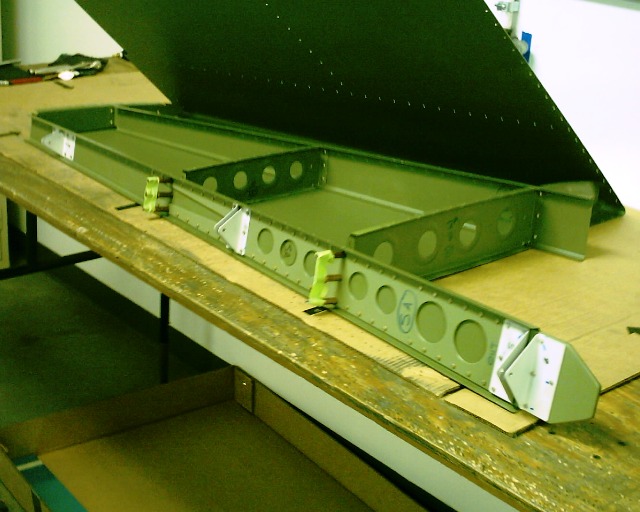
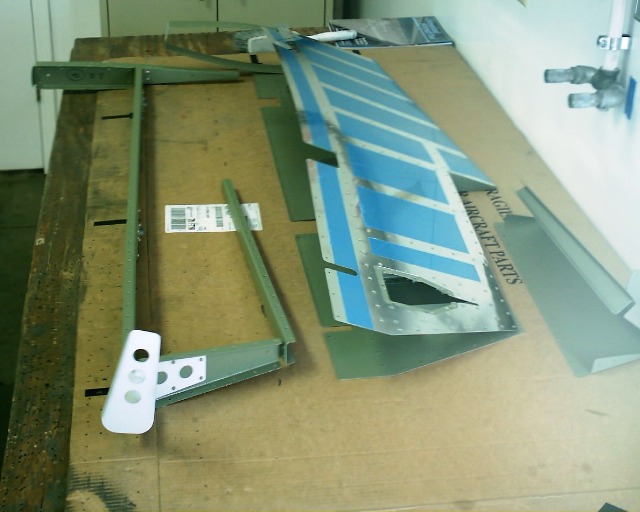
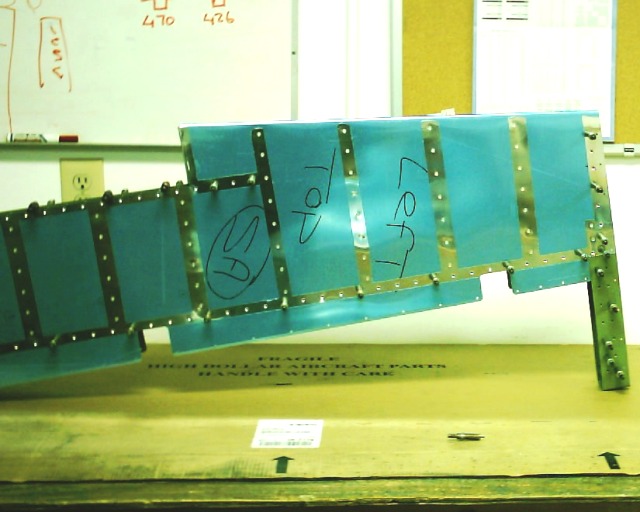
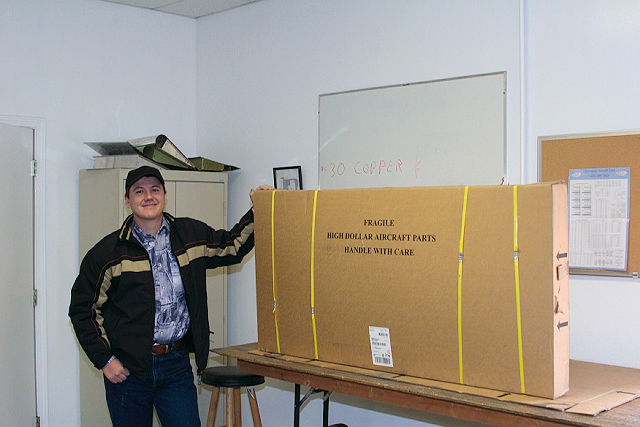
Inventory:

I opened my High Dollar Aircraft part box and inventoried everything. It is amazing that the tail fits in such small boxes.


Date: Mon, Feb 14, 2005 Build Hours: 9.5
Assembly: Empennage Sub-Assembly: H-stab

Drill center hinge bracket & rivet

Trim Center of spar bottom

Drill rear spar with reinforcement bar

Bend front spar & flute ribs

Drill ribs and cleko skin to spar

Fit center + main ribs

Drill skin to frame

Debur, scuff, dimple & countersink


Date: Tue, Feb 15, 2005 Build Hours: 6.0
Assembly: Empennage Sub-Assembly: V-stab

Drill vertical stab, doubler & hinge bracket. Flute ribs. Drill front & rear spar, ribs, and skin on frame. Debur, scuff, dimple & countersink


Date: Tue, Feb 15, 2005 Build Hours: 7.5
Assembly: Empennage Sub-Assembly: Rudder

Drill rear spar & reinforcement plates & ribs. Drill horn, brace and lead. Cut stiffeners and drill stiffeners with skin. Fabricate bottom attach strip. Debur, scuff, dimple & countersink

Send everything to paint shop to primer


Date: Wed, Feb 16, 2005 Build Hours: 12.5
Assembly: Empennage Sub-Assembly: Elevators

Left and Right Elevators:

Drill rear spar & reinforcement plates, outboard ribs to spar & horns.

Cut stiffeners and drill stiffeners to skin. Drill skin and counter balance skin to frame. Fabricate bottom attach strip. Debur, scuff, dimple & countersink.  Bend top skin for leading edge.

Left Elevator Specific:

Countersink top on outboard side rear spar. Dimple bottom of rear spar. Drill trim access reinforcement plates.

Elevator Trim Tab:

Drill tab skin to spar & horns. Debur, scuff & dimple. Countersink top side of trim tab spar. Bend tabs on left & right side of trim tab skin.


Date: Thu, Feb 17, 2005 Build Hours: 12
Assembly: Empennage Sub-Assembly: H-stab & V-stab

Horizontal Stabilizer:

Rivet rear spar, spar doublers & hinge brackets. Rivet extrusion to front spar. Rivet ribs to front spar. Cleko rear spar to frame. Jig frame. Put both skins on frame. Cleko top skin only and rivet spar & center main rib. Rivet center nose rib & bottom skin. Rivet side skins. Slide and rivet rear spar in place

Vertical Stabilizer:

Rivet rear spar with spar double & hinge brackets. Rivet front spar to ribs. Rivet skin to frame. Slide & rivet rear spar into place.


Date: Fri, Feb 18, 2005 Build Hours: 12
Assembly: Empennage Sub-Assembly: Rudder & Right Elevator

Rudder:

Rivet reinforcement plates, platenuts, bottom rib, rudder horn, shim , top rib, & horn brace. Bend right rudder skin slightly for rolled LE. Back rivet stiffeners to skins. Rivet skin halves, counterbalance skin & bottom attach strips to frame. Trim to fit counter weight. I stall top rib. Back rivet trailing edge wedge. Roll leading edge and rivet.

Right Elevator:

Rivet reinforcement plates, nut plates and inboard end rib to spar. Rivet both outboard ribs together and to spar. Rivet elevator horn and back rivet stiffeners to skin. Crease trailing end to make it sharper. Put RTV inside TE where stiffeners come together. Slide frame into skin and rivet. Roll Leading edge & rivet. Trim, drill and install counterweight.


Date: Sat, Feb 19, 2005 Build Hours: 6.5
Assembly: Empennage Sub-Assembly: Left Elevator

Left Elevator:

Same process as Right elevator, with the exception of the trim tab detail. Do not rivet top side of rear trim spar, leave open for hinge. Pull rivets outboard 3 hole in rear trim spar top and bottom. Solid rivet fourth hole inboard top and bottom. Roll leading edge & rivet. Trim, drill and install counterweight.

Trim Tab:

Rivet trim tab spar and trim tab horns to trim tab bottom skin.
Drill and pull rivet tab bend ends. Layout and drill hinge to elevator spar and trim tab spar. Hinge fits un the underside of both spars. Rivet hinge to both spars. Bend trim tab bottom skin up to clear edge of bottom elevator skin.


The Empennage sheet metal work completed: